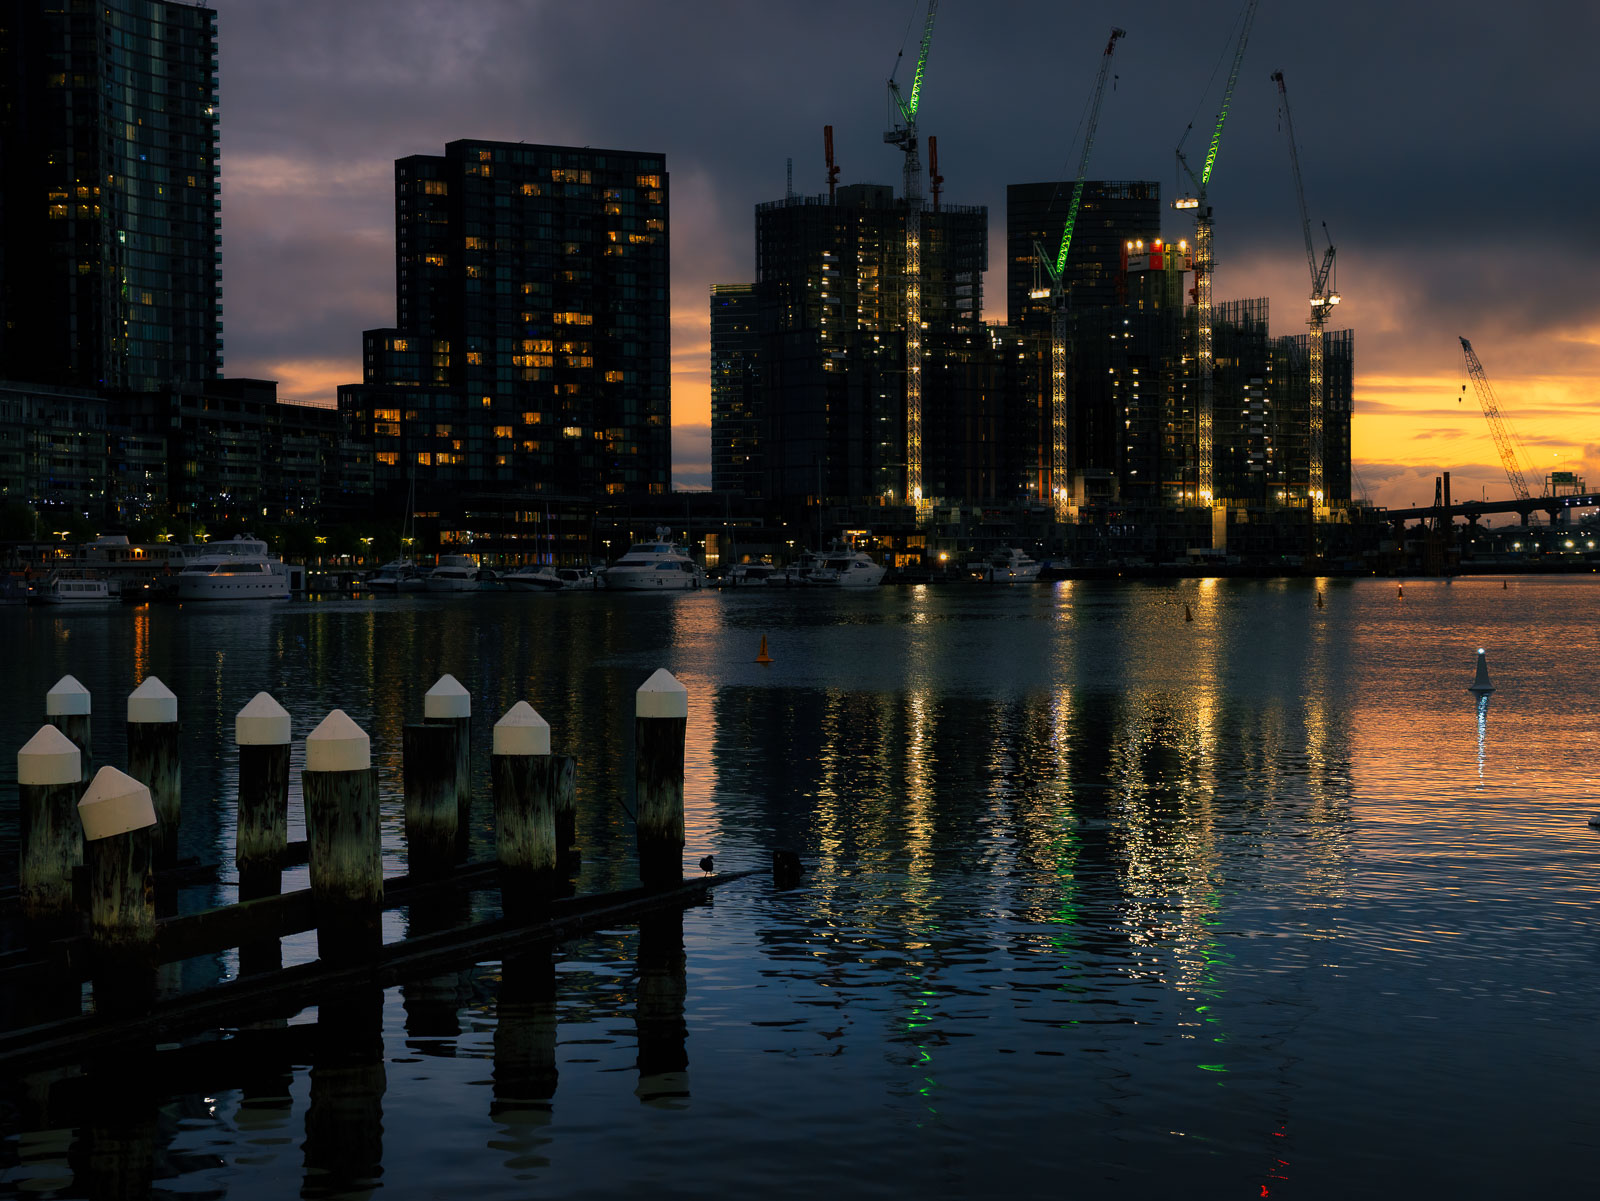
Docklands at night – video
In my previous post, I showed off a few photos I snapped around Docklands while I was out filming. Well, this time it’s the actual video.
It’s certainly not a masterpiece. More than anything, it was a learning project — a chance to experiment with a whole bunch of new technical tricks and even a few artistic ideas.
Mind you, the artistic side was fairly modest. I’d been reading a few articles on cinematography and kept coming across the advice that you should vary your shot sizes and compositions. I’d always understood that instinctively, but this time I made a conscious effort to shoot and edit according to the accepted rules of filmmaking. Or at least according to my understanding of those rules.
Anyway, enough preamble — here’s the video.
Technical details for the geeks and nerds
So, what were all these technical experiments?
For starters, I shot in a different format. Normally I record in Long GOP at 100 Mbps, with 4:2:0 colour sampling, 10-bit colour depth, and a MOV container. This time I switched to ALL-I at 400 Mbps with 4:2:2 colour sampling — still MOV and still 10-bit.
What difference did it make? The files ended up being roughly four times larger, but they were much easier to edit and put far less strain on the computer.
Long GOP stands for “Long Group of Pictures”. It’s a video compression method where the camera records a key frame, and several subsequent frames are stored as variations of that frame. During playback or editing, those frames need to be reconstructed. The upside is smaller file sizes; the downside is slightly lower quality and more work for the computer.
With ALL-I (All-Intra), every frame is recorded independently. The files are bigger, but editing is generally much smoother.
The move from 4:2:0 to 4:2:2 colour sampling also means more colour information is stored in each frame, resulting in more accurate colour reproduction. My old AMD graphics card simply refused to deal with 4:2:2 footage — I couldn’t do anything with those files at all. These days I’m running an Nvidia card, which handles 4:2:2 footage without breaking a sweat, so I finally had a chance to make use of it.
The next technical upgrade was on the editing side. As I may have mentioned before, I bought the Studio version of DaVinci Resolve software from Blackmagic Design.
Speaking of Blackmagic, I’ve probably told this story before, some time ago I actually met and chatted with Grant Petty, the owner of Blackmagic Design and, incidentally, a billionaire. He struck me as an incredibly intelligent and easy-going bloke. A local Melbourne guy, too. Blackmagic Design itself started as a tiny project on the kitchen table of his small Docklands apartment.
I saw Grant about a year ago. At the time, he was talking about the development of Blackmagic’s new editing workstations and DaVinci Resolve 21, which was still in development back then. Fast forward to today, and I’m using that very same version.
This is what my video editing workflow currently looks like:

I’m trying to approach editing — especially colour grading — in a more systematic way. I’ve watched quite a few training videos from professional colourists on YouTube and have been following their advice where I can.
I wouldn’t say the results are particularly impressive just yet, but that’s all part of the learning curve. I’m still learning both the filming and the editing side of things, and hopefully each project will turn out a little better than the last.
Leave a Reply